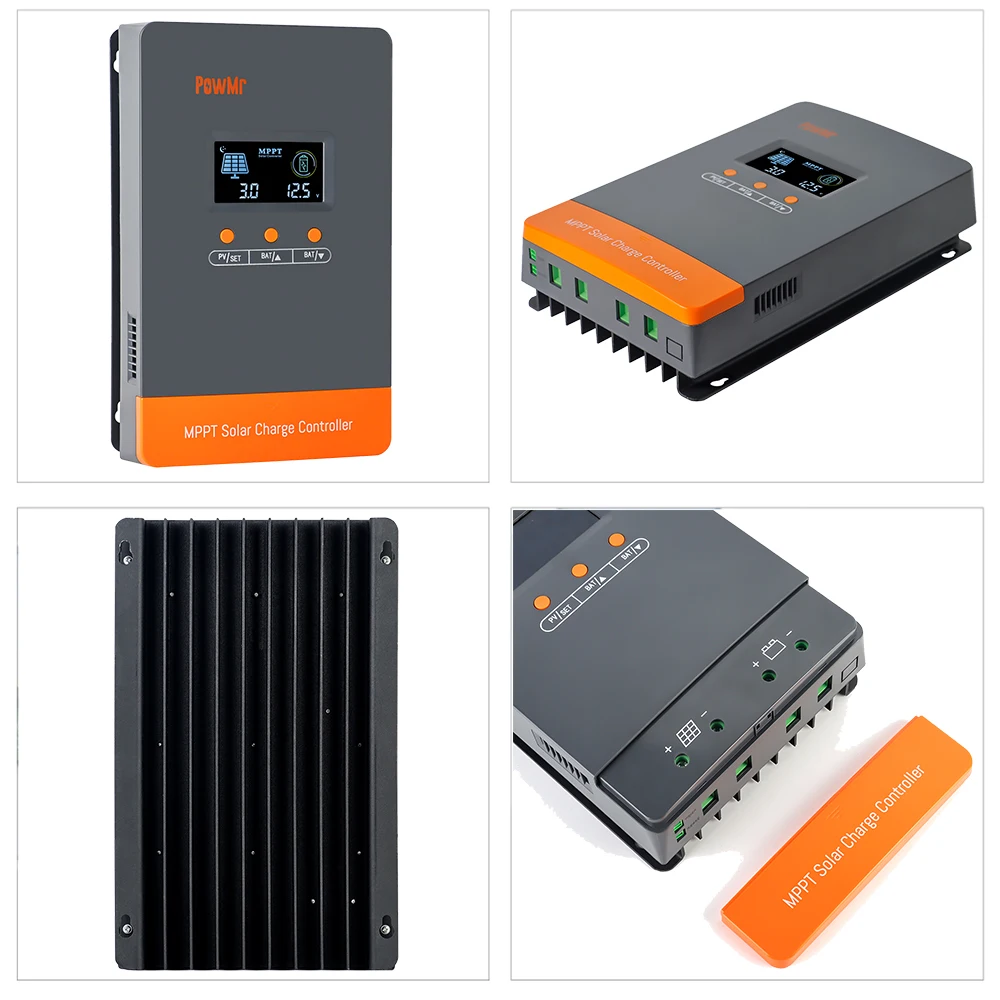
PowMr MPPT 100A 80A Solar Charge Controller 12V 24V 36V 48V Auto Solar Panels Regulator Parallel Up 12 Units For Lead LiFePO4 Lithium Battery


PowMr MPPT 100A 80A Solar Charge Controller 12V 24V 36V 48V Auto Solar Panels Regulator Parallel Up 12 Units For Lead LiFePO4 Lithium Battery
SPECIFICATIONS
Application: Charger Controller,Voltage Controller,Solar System Controller,Solar Working Station
Brand Name: PowMr
Certification: CE
High-concerned chemical: none
Is Smart Device: no
Maximum Current: -
Model Number: -
Origin: Mainland China
is_customized: Yes
PowMr MPPT 100A 80A Solar Charge Controller Solar Panels Regulator 12V 24V 36V 48V Parallel Up 12 Units For Lead Lithium Battery
Models |
POW-M80-PRO |
POW-M100-PRO |
Solar Input Specification | ||
Max. Solar Array Open-Circuit Voltage |
160V |
|
Maximum Input Power |
For 12V System(960W)
For 24V System(1920W)
For 36V System(2880W)
For 48V System(3840W)
|
For 12V System(1200W)
For 24V System(2400W)
For 36V System(3600W)
For 48V System(4800W)
|
Battery Charging Specification | ||
Charging Technology |
MPPT |
|
Charging Algorithm |
3 Stages |
|
Charging Algorithm |
12V/24V/36V/48V |
|
Battery Voltage Range |
9~60V |
|
Rated Charging Current |
80A |
100A |
Maximum Efficiency |
≤98% |
|
MPPT Efficiency |
>99% |
|
Temperature Compensation |
-3mV/°C/2V(default) |
|
Self-Consumption |
44mA/12V; 26mA/24V; 18mA/36V; 12mA/48V |
|
Environment Specification | ||
Operating Temperature Range |
-35°C~+45°C |
-35°C~+45°C |
Humidity Range |
≤95%,Non-condensing |
≤95%,Non-condensing |
Altitude |
<3000m |
<3000m |
General Specification | ||
Protection Level |
IP32 |
|
Dimensions |
260x180x75mm |
315x195x80mm |
Net Weight |
2KG |
2.7KG |


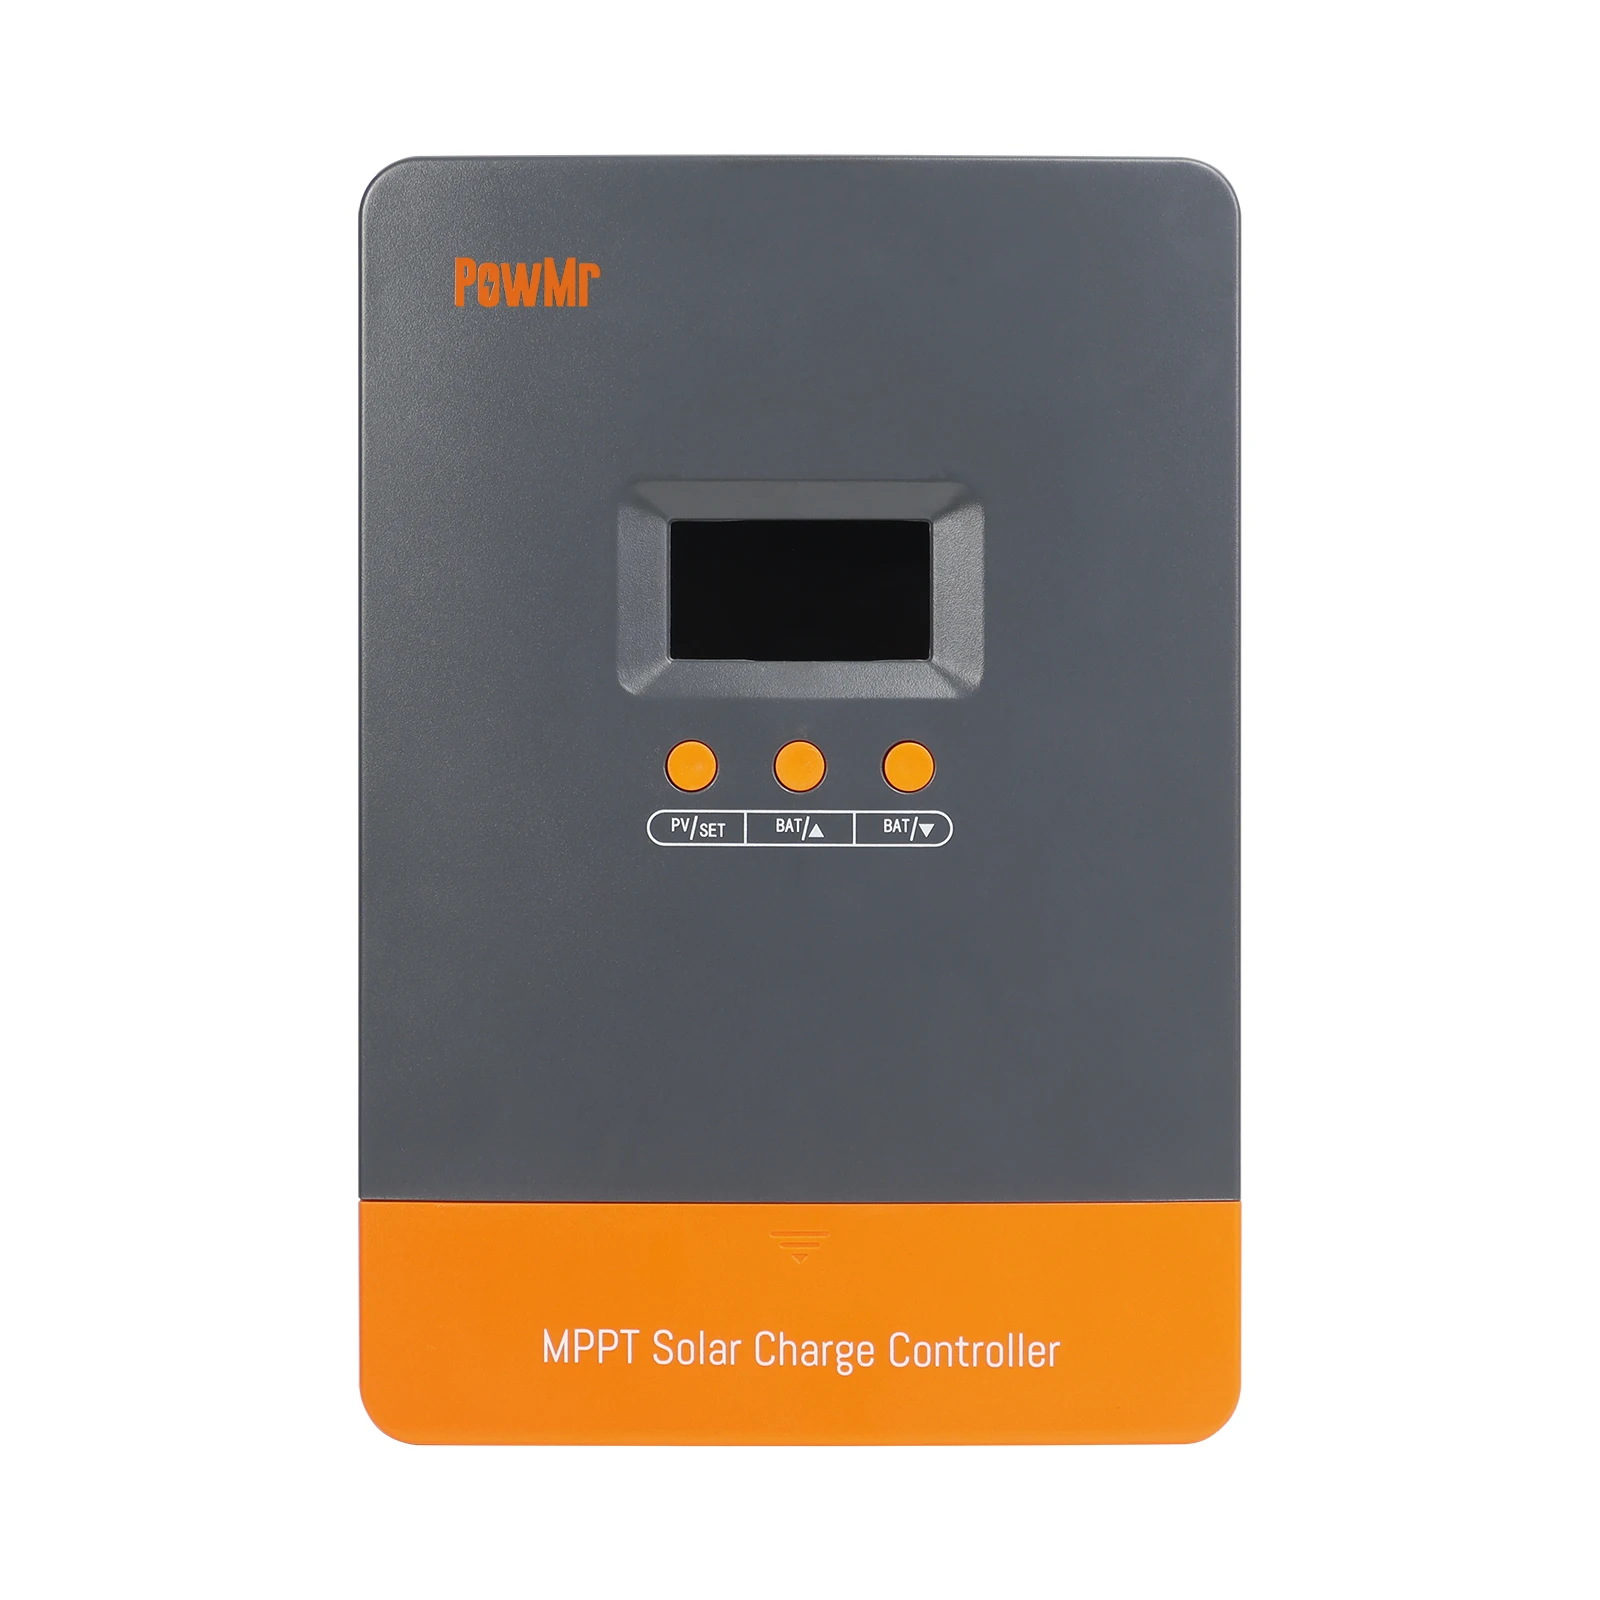
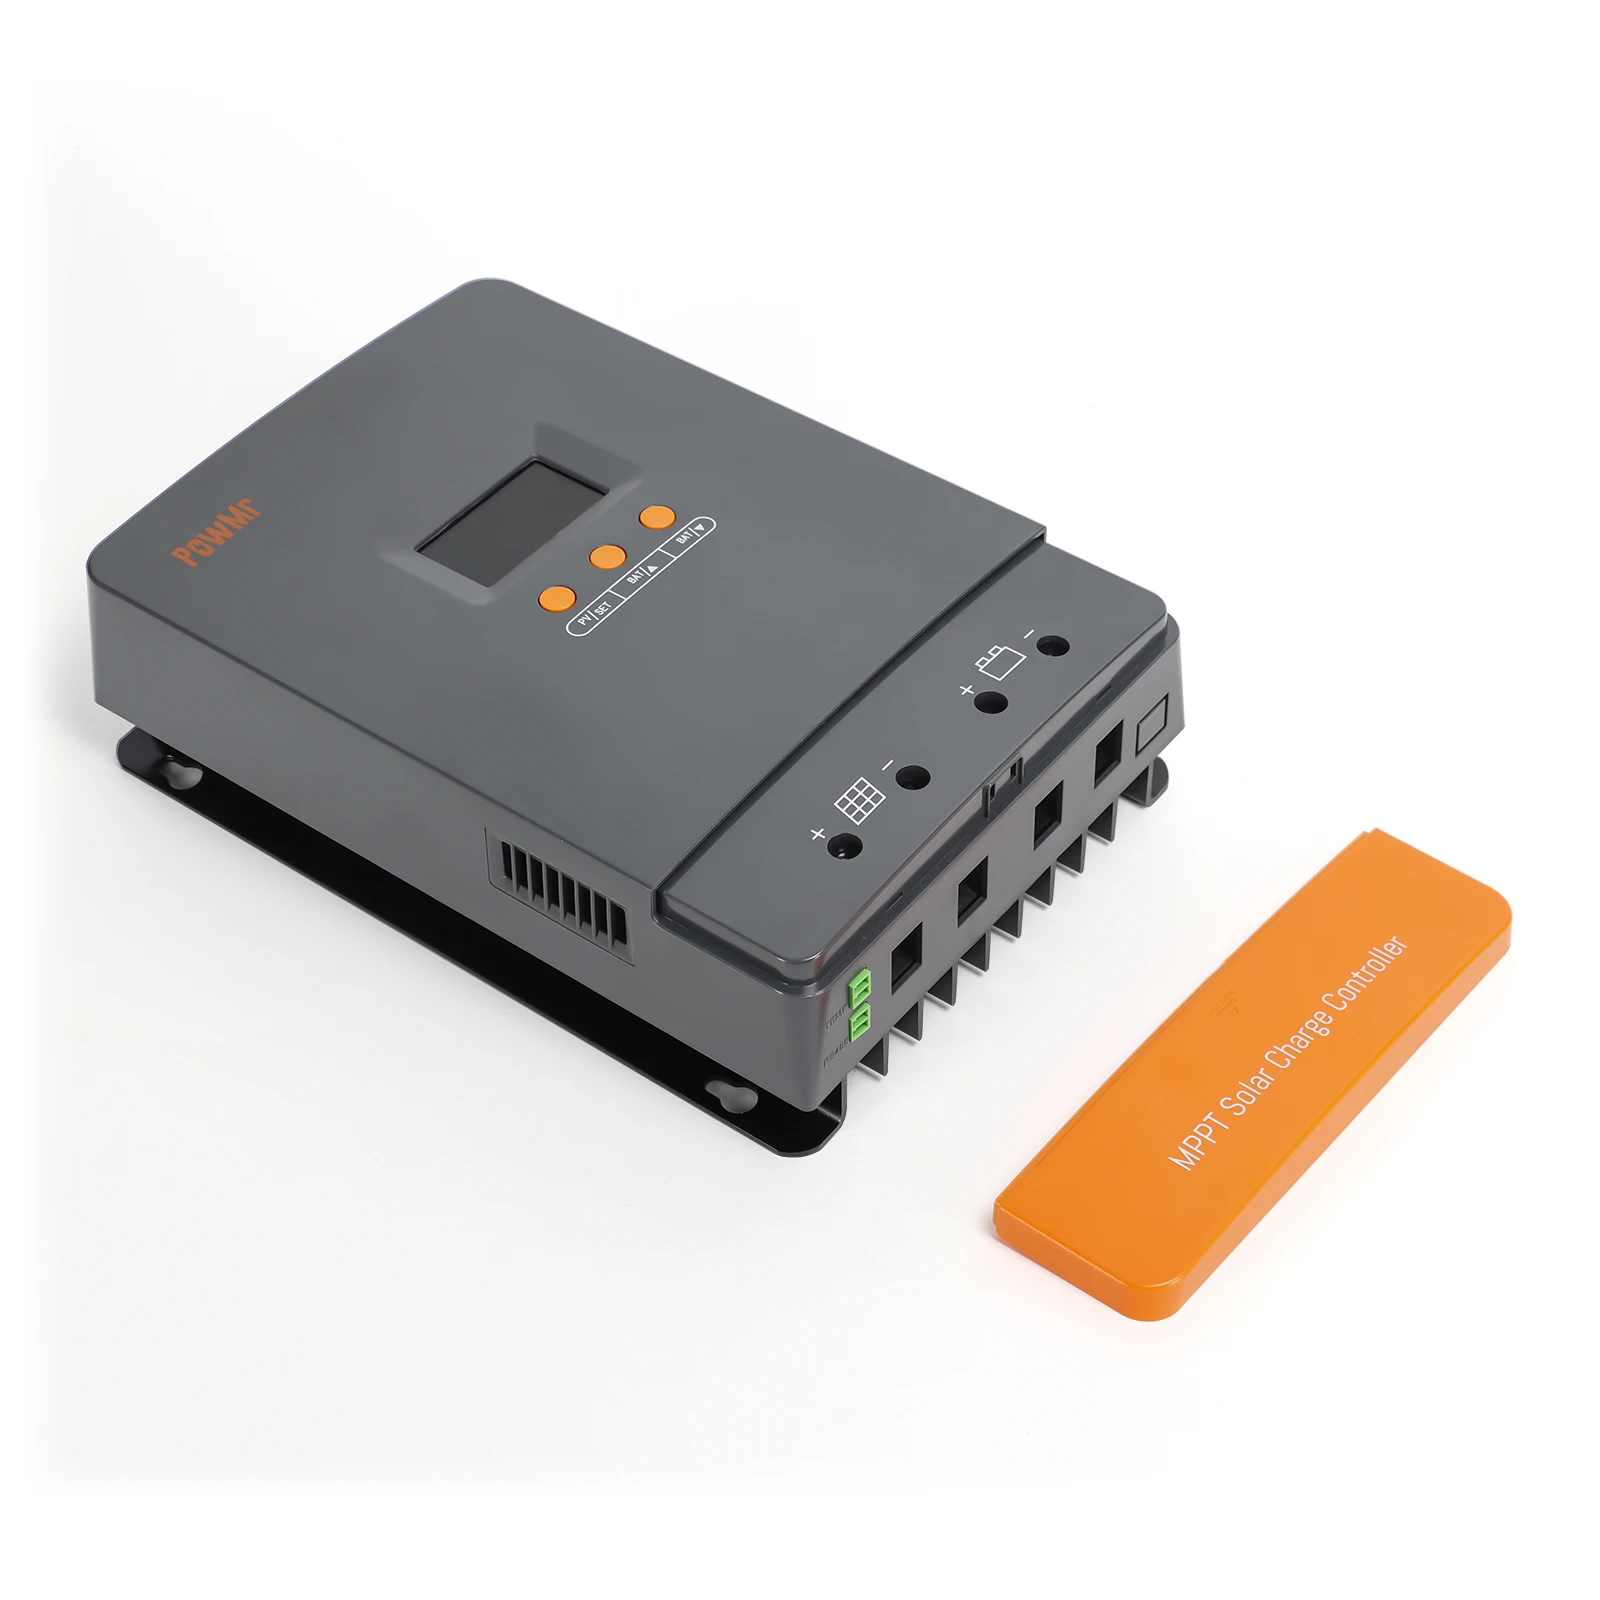
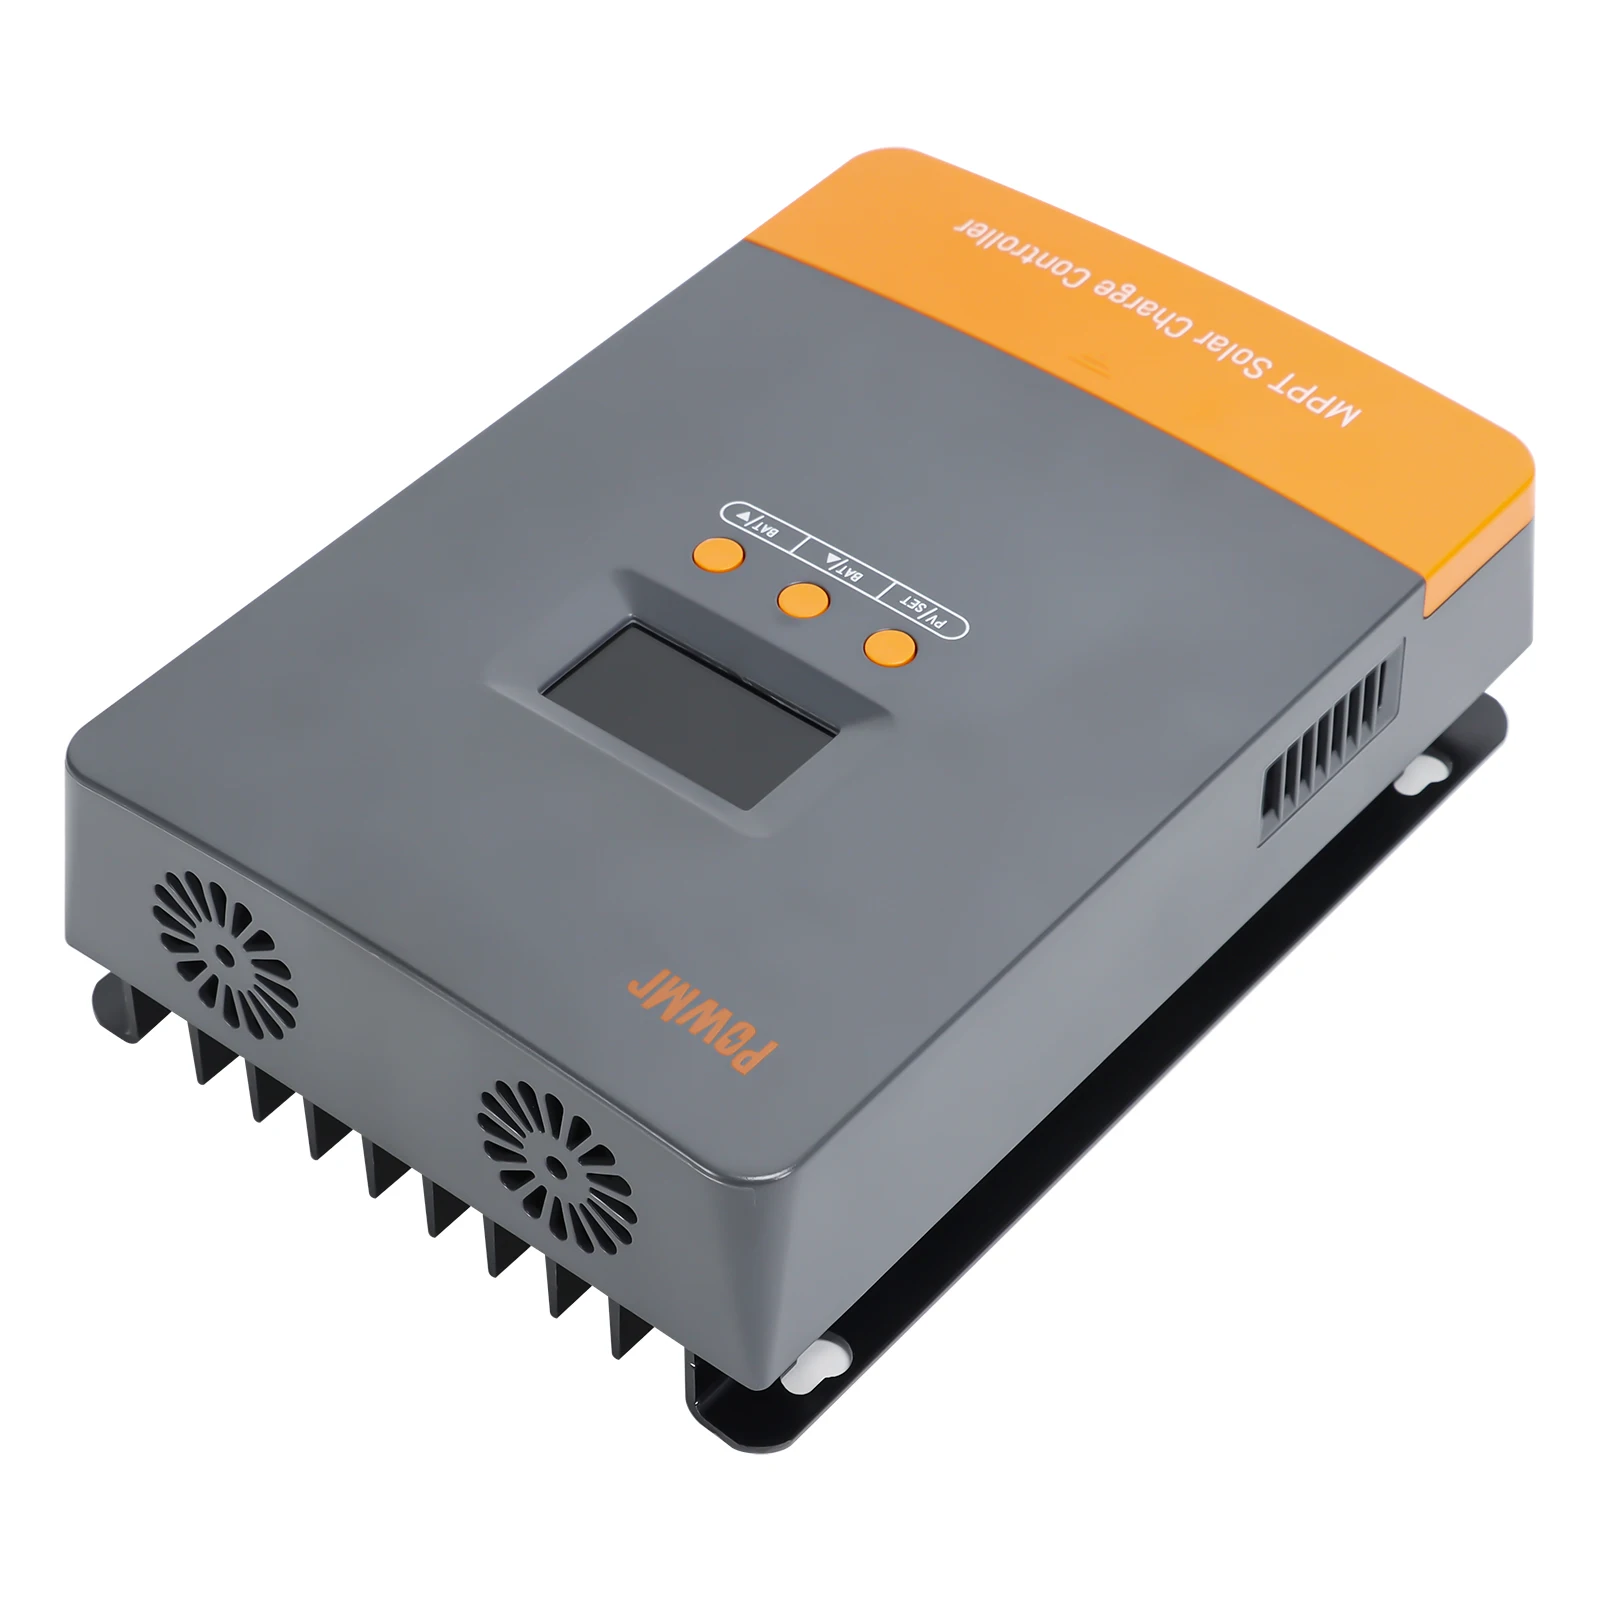
Parallel guide:
Step 1: Install the parallel equipment at the same level, keeping a distance of at least about 75mm between the equipment
Step 2: Communication cable connection
Step 3: Connect all parallel controllers to the same battery pack in turn
Step 4: Connect each controller to its own photovoltaic array
Step 5: Once wiring is complete, power on by closing the battery circuit breaker. After starting up, please refer to Chapter 3.4 to define the master and slave machines, and then complete the related settings of the entire parallel system through the master machine.